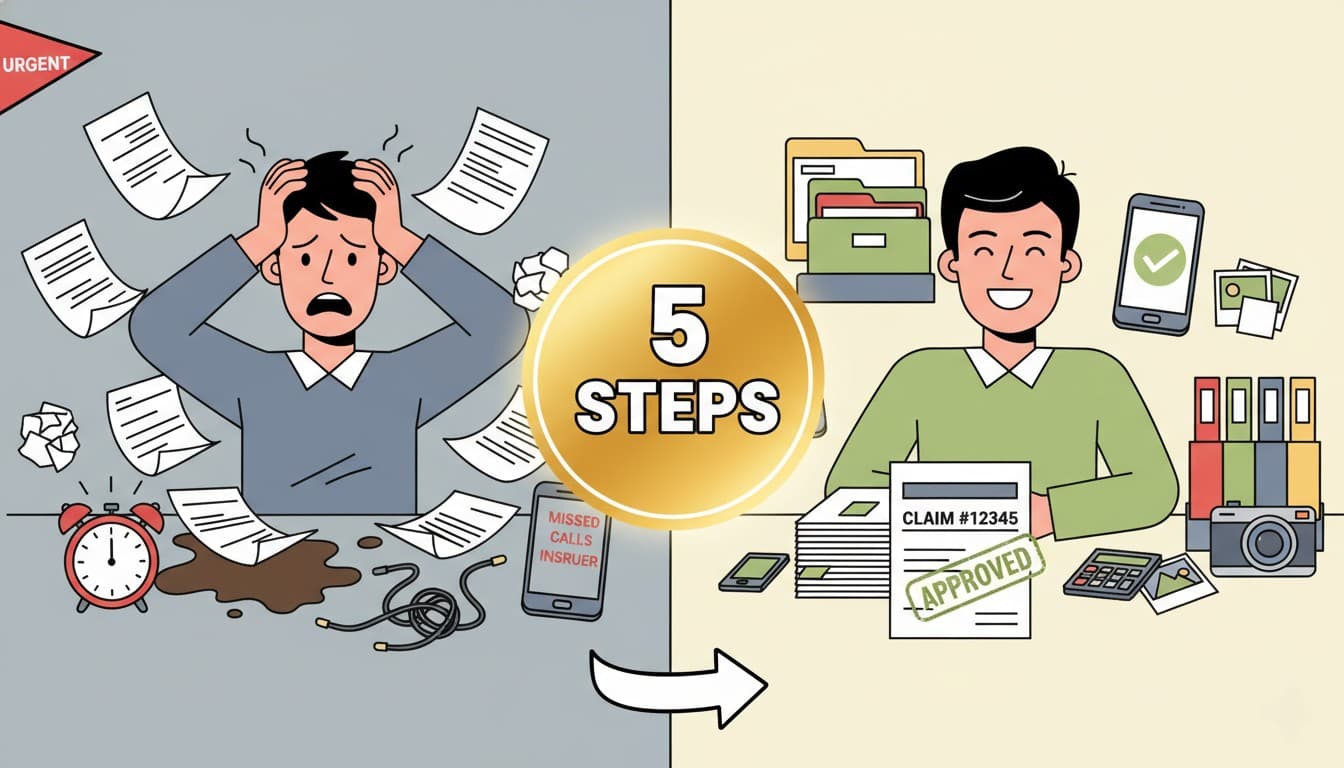
Let's be real - your homeowners insurance bill probably makes you wince a little every time it shows up. Mine certainly did. I remember opening last year's renewal notice and nearly choking on my coffee when I saw the premium had jumped another $200.
But here's what most people don't realize: you have way more control over your homeowners insurance costs than you think. Your home isn't just four walls and a roof - it's probably your biggest investment. And protecting it shouldn't mean emptying your wallet every year.
I've spent the last few months talking to insurance agents, reading policy documents (yes, the boring fine print), and testing different strategies. What I found surprised me. These nine practical steps can actually make a real difference in what you pay while keeping your home properly protected.
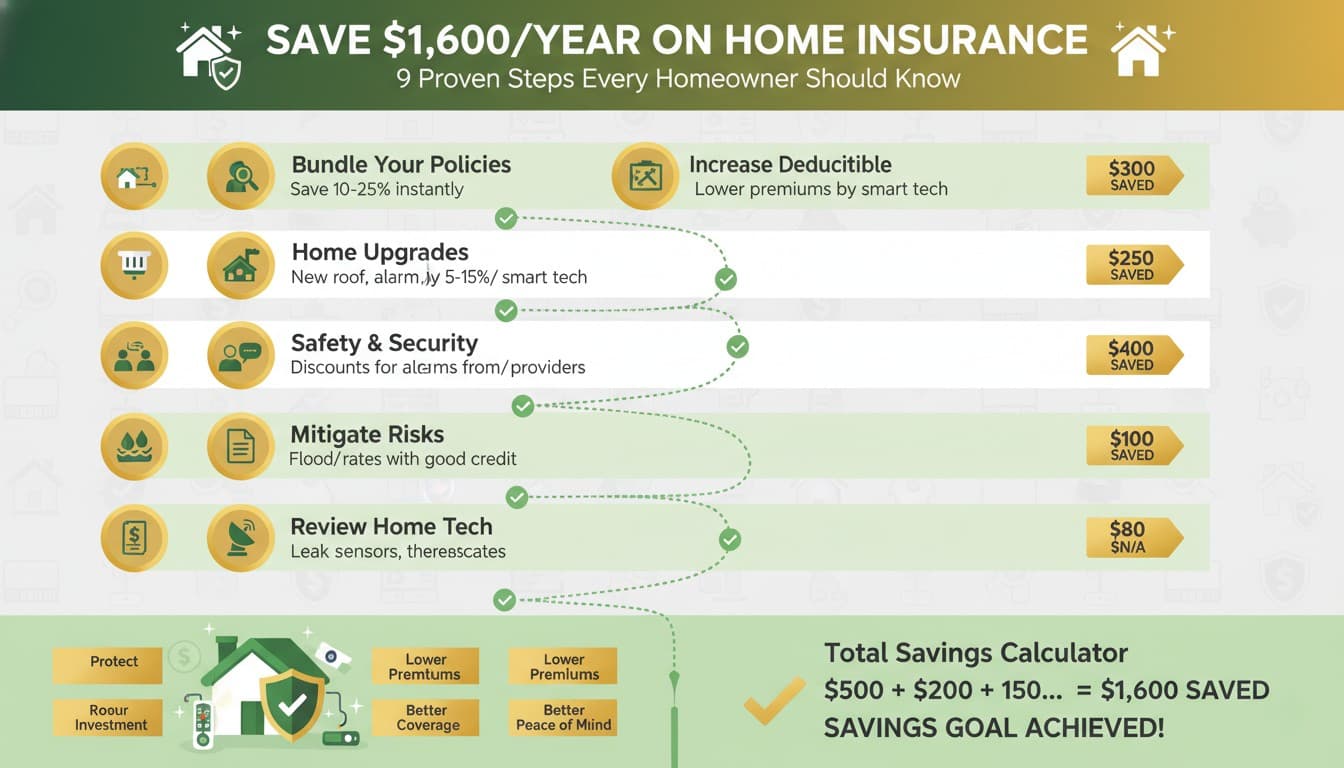
Step 1: Bundle Your Policies and Watch the Savings Add Up
This one's so simple it almost feels like cheating. When you combine your homeowners insurance with your auto, life, or umbrella policy under one company, insurers typically knock off 10-25% of your total cost.
Why? Because they want to keep all your business, not just some of it. And honestly, it makes your life easier too - one renewal date, one customer service number, one login to remember.
Carlos and Dana from San Diego did exactly this. They were paying separate companies for home and auto insurance without thinking much about it. When Carlos's coworker mentioned bundling, they decided to get quotes. Turns out, moving both policies to the same insurer saved them $312 a year. That's a nice dinner out every month, just for making one phone call.
Here's the catch though - don't just bundle once and forget about it. Insurance companies know that bundled customers rarely shop around, so your "discount" might quietly shrink over time while base rates creep up. Set a calendar reminder to check competitive quotes every year, even if you're happy with your current company.
Step 2: Trim the Fat from Your Coverage
Most of us signed up for our homeowners insurance years ago and just keep auto-renewing without looking at what we're actually paying for. Big mistake.
Pull out your policy (or log into your account) and really look at what's included. You might be paying for coverage you no longer need or riders for stuff you don't even own anymore.
A homeowner in Bakersfield had this exact problem. She'd added a jewelry rider ten years earlier to cover an engagement ring and some inherited pieces. Fast forward a decade - she'd sold some items and put others in a safety deposit box. That rider was costing her $250 a year for jewelry that wasn't even in her house. One phone call to remove it, instant savings.
Questions to ask your agent:
- Am I eligible for new discounts I wasn't before? (New roof, alarm system, five years claim-free?)
- Do I still need all my add-on riders?
- Has my home's replacement cost estimate kept up with actual local building costs?
Sometimes you'll find you're actually underinsured in some areas while over-insured in others. Rebalancing can save money and improve protection at the same time.
Step 3: Raise Your Deductible (But Only If It Makes Sense)
Higher deductible equals lower premium. This isn't a secret, but a lot of people don't actually do the math to see if it's worth it.
If you can comfortably cover $1,000 to $2,000 out of pocket for small repairs without financial stress, raising your deductible could cut your premium by 15-40%. That's real money.
Sarah from Pasadena was skeptical about this. She'd always had a $500 deductible because it felt "safer." But when she ran the numbers, bumping it to $1,000 saved her $340 annually. Over two years, she saved $680 - more than the extra $500 she'd pay if she actually needed to file a claim.
The key question: Do you have an emergency fund that could cover the higher deductible without putting you in a tight spot? If not, stick with a lower deductible. Saving $300 a year doesn't help if a $2,000 deductible wipes out your savings when you actually need it.
Step 4: Upgrade to Smart Home Tech (Your Insurer Will Love You)
This is where insurance gets kind of fun. Insurers will literally pay you (via discounts) to install technology that prevents damage to your home.
Smart smoke detectors, water leak sensors, security cameras, smart locks - these aren't just cool gadgets. They genuinely reduce the chance of expensive claims, and insurance companies reward that.
Tech that saves you money:
- Smart smoke and CO2 detectors (Nest Protect, First Alert) - 5-10% discount
- Water leak sensors (Moen Flo, Honeywell Lyric) - up to 15% discount
- Security systems with monitoring (Ring, SimpliSafe, ADT) - 10-20% discount
- Smart locks and motion sensors - 5-10% discount
The Cho family in San Jose installed a whole-home water monitoring system after hearing horror stories about burst pipes from neighbors. It cost them $500 upfront, but their insurance company gave them a $250 annual discount. The system paid for itself in two years, and they sleep better knowing they'll get an alert if a pipe starts leaking while they're at work.
Pro tip: Before buying any smart home device, call your insurer and ask specifically which brands and models qualify for discounts. Not all of them do, and you don't want to spend $400 on a system that doesn't actually reduce your premium.
Step 5: Create a Digital Home Inventory (Before You Need It)
Nobody wants to think about their house burning down or getting burglarized. But if it happens, trying to remember every single thing you owned while you're stressed and displaced is nearly impossible.
A digital home inventory is basically an organized list of your stuff with photos, receipts, and serial numbers. Apps like Sortly, Encircle, or even just folders in Google Drive work great.
Jamie from Napa learned this lesson in the best possible way - by being prepared. When a kitchen fire damaged her home, she had everything documented and uploaded to the cloud. She submitted her claim within 24 hours with full documentation. Her insurer approved and paid the claim in two weeks.
Compare that to her neighbor, who spent months trying to recreate receipts, searching through email for purchase confirmations, and arguing with the adjuster about whether items were actually owned or just "estimated." The neighbor's claim took four months to settle, and he probably missed claiming hundreds of dollars worth of stuff he simply forgot about.
What to include in your inventory:
- Photos or videos of every room
- Receipts for expensive items (electronics, appliances, furniture)
- Serial numbers for everything that has one
- Appraisals for jewelry, art, or collectibles
Spend one weekend doing this. Update it once a year. Future you will be incredibly grateful if you ever need it.
Step 6: Update Your Policy After Home Improvements
This one trips up a lot of people. You renovate your kitchen, add a bathroom, install solar panels, or finish the basement - and you forget to tell your insurance company.
Here's the problem: your policy is based on your home's replacement cost. If you've added $50,000 worth of improvements but your coverage limit hasn't changed, you're underinsured. When disaster strikes, you'll find out the hard way that your payout won't cover rebuilding to your home's current state.
The flip side is also true - if you removed a pool or tore down a shed, you might be over-insured and paying too much.
Make it a habit: After any renovation, remodel, or major upgrade, call your agent. They'll adjust your coverage and your premium accordingly. Yes, better coverage might cost a bit more, but it's worth it to know you're actually protected.
Take before and after photos of renovations and upload them to your insurer's app or email them to your agent. This creates a paper trail that prevents disputes later about what was actually done.
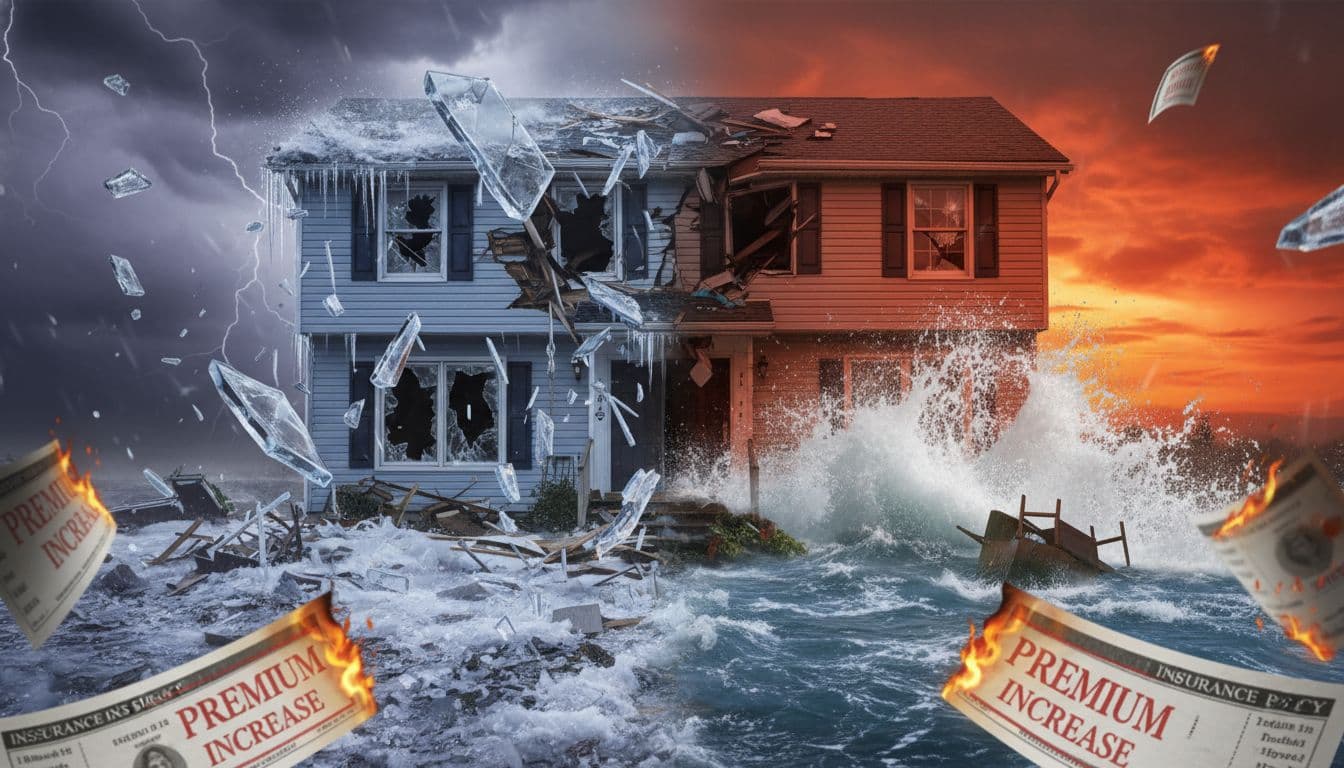
Step 7: Add Flood or Earthquake Coverage (Even If You Think You Don't Need It)
Here's something that shocks people: standard homeowners insurance doesn't cover floods or earthquakes. At all. Zero coverage.
"But I don't live in a flood zone," you might say. Doesn't matter. Flood damage can happen anywhere there's water - burst pipes, heavy rain, overflowing gutters, nearby construction changing drainage patterns.
A family in Santa Rosa found this out the expensive way. A winter storm overwhelmed their neighborhood's drainage system, and their finished basement flooded with three feet of water. Damage estimate: $40,000. Insurance payout: $0. Their policy specifically excluded flood damage.
They were lucky enough to have savings to cover repairs, but it hurt. Now they pay $300 a year for separate flood insurance, and they actually sleep better knowing they're covered.
If you live in California or any area with earthquake or flood risk, get quotes for separate coverage. It's almost always cheaper than you think - often just a few hundred dollars annually for protection against tens of thousands in potential damage.
Step 8: Pay Annually Instead of Monthly (Yes, Really)
This is pure math. Many insurance companies add small "installment fees" if you pay monthly - usually $3 to $10 per month. Over a year, that's $36 to $120 you're paying just for the convenience of spreading out payments.
If you can swing the lump sum payment, do it. You'll save 5-10% on average.
"But I don't have an extra $1,500 sitting around," you might be thinking. Fair enough. Here's a workaround: some 0% introductory APR credit cards give you 12-18 months interest-free. Pay your annual premium on the card, then pay off the card in monthly installments during the promotional period. You get the discount without the cash flow hit.
Just make absolutely sure you pay off the card before the promotional period ends, or you'll get hit with back interest that wipes out any savings.
Step 9: Improve Your Credit and Keep Your Claim History Clean
This might seem unfair, but insurers use your credit score as a factor in pricing your premium. Their data shows that people with better credit scores file fewer claims. Whether that's actually fair is debatable, but it's reality.
Olivia discovered this when she checked her credit score and found it was 650 - lower than she thought. She spent a year paying down credit card debt, disputing an error on her report, and making all payments on time. Her score jumped to 740.
When her homeowners insurance renewed, she noticed something interesting - her premium dropped $180 annually with zero change to her coverage. The agent confirmed her improved credit score was the reason.
Similarly, avoiding small claims helps. Filing a claim for $800 in damage when you have a $500 deductible nets you $300, but it can raise your premiums by $200+ per year for the next 3-5 years. Do the math - sometimes it's smarter to pay out of pocket for minor repairs.
Your Action Plan
Look, I get it. Insurance is boring. Nobody wants to spend their Saturday reading policy documents and calling agents for quotes.
But here's the reality: spending 2-3 hours on these nine steps could easily save you $500-1,000 per year. That's $250+ per hour for your time. Not a bad return on investment.
You don't have to do everything at once. Start with the easy wins - bundle your policies, trim unnecessary coverage, raise your deductible if you can afford it. That alone could save you hundreds this year.
Then tackle the others gradually - add smart home tech during Black Friday sales, create your digital inventory over a weekend, check your credit score and work on improving it.
Your home is your biggest investment. Making your insurance work smarter instead of just costing more is one of the best financial moves you can make. And honestly? Once you've optimized everything, you can ignore it for another year and just enjoy the savings.
Set a reminder for 11 months from now to review everything again. Insurance rates change, new discounts appear, and your situation evolves. An annual checkup keeps your coverage right and your costs low.
You've got this.